Moving installations
See also: Moving installations using the app
- been the one who added the installation to the project, or
- a Manager or Administrator role in the project
Moving an installation that already has records associated with it
If you are physically moving an installation that already has records associated with it, best practice is to “retire” the installation and create a new one in the new location. This keeps old records correctly associated with the old location.Moving an installation that has been incorrectly located on the project map
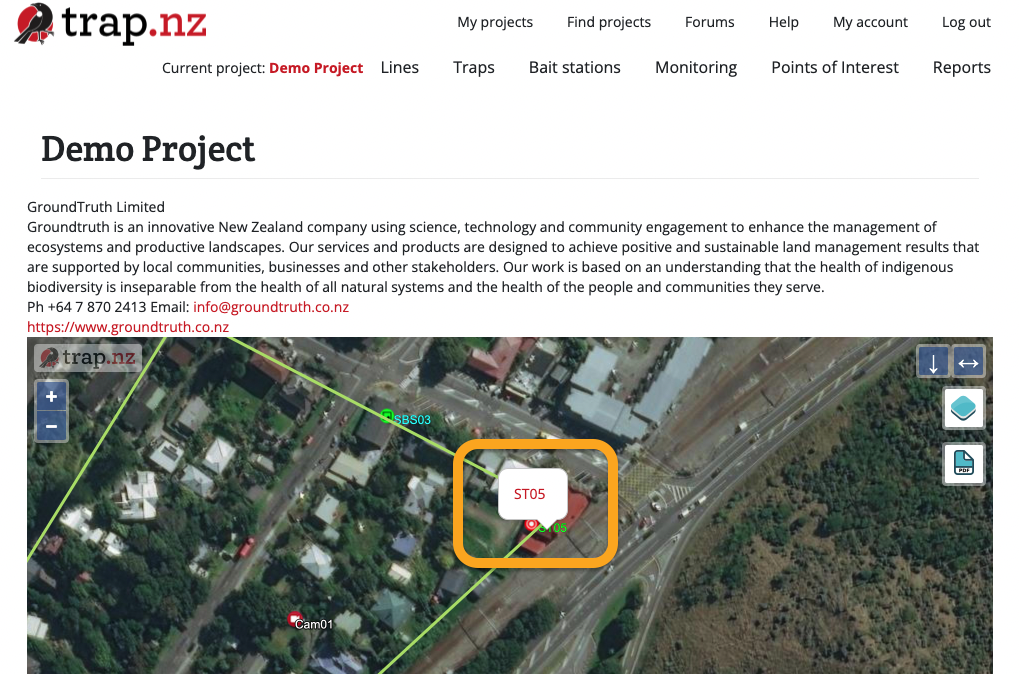
- Select the installation you want to relocate from either a list of installations, or by clicking on it on a map
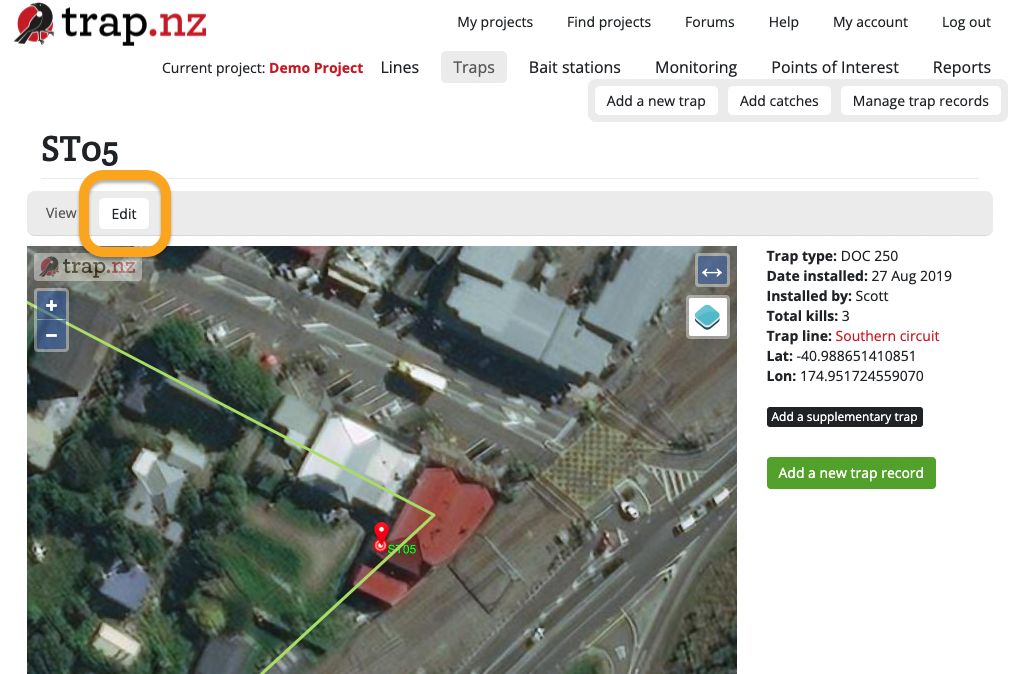
- The page for that installation will load
- Click the "Edit" button

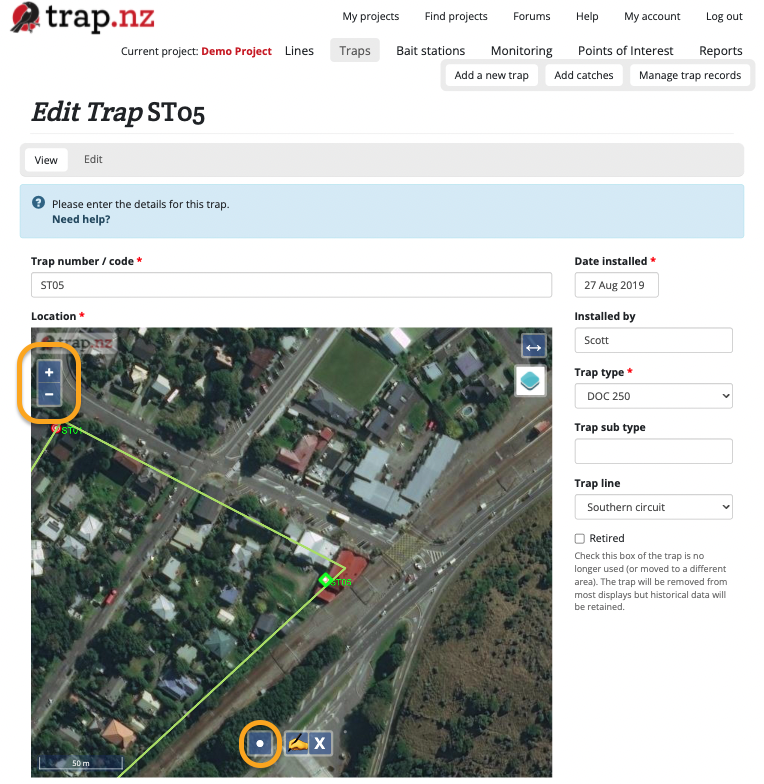
- The "Edit installation" page will load
- Zoom in on the trap on the map, so that its current location and the location you want to move it to, are both visible.
- Click the "Draw a point" icon on the map
- Click on the new location for this installation on the map
- A dialog box will appear, asking you to confirm that you want to move the installation's location on the map
- Click "OK" to confirm
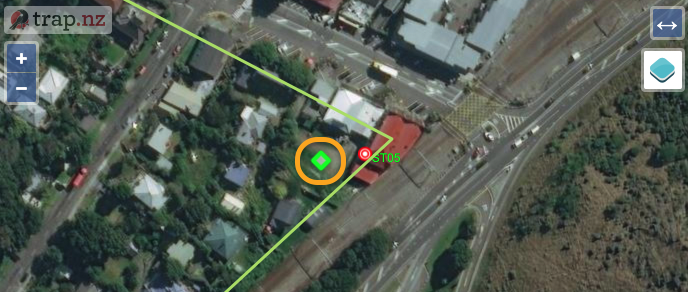
- The map will now show a green square where the installation will be moved to
- Click the green "Save" button at the bottom of the page to save your changes
- The page for that installation will load, showing the installation at the new location on the map


